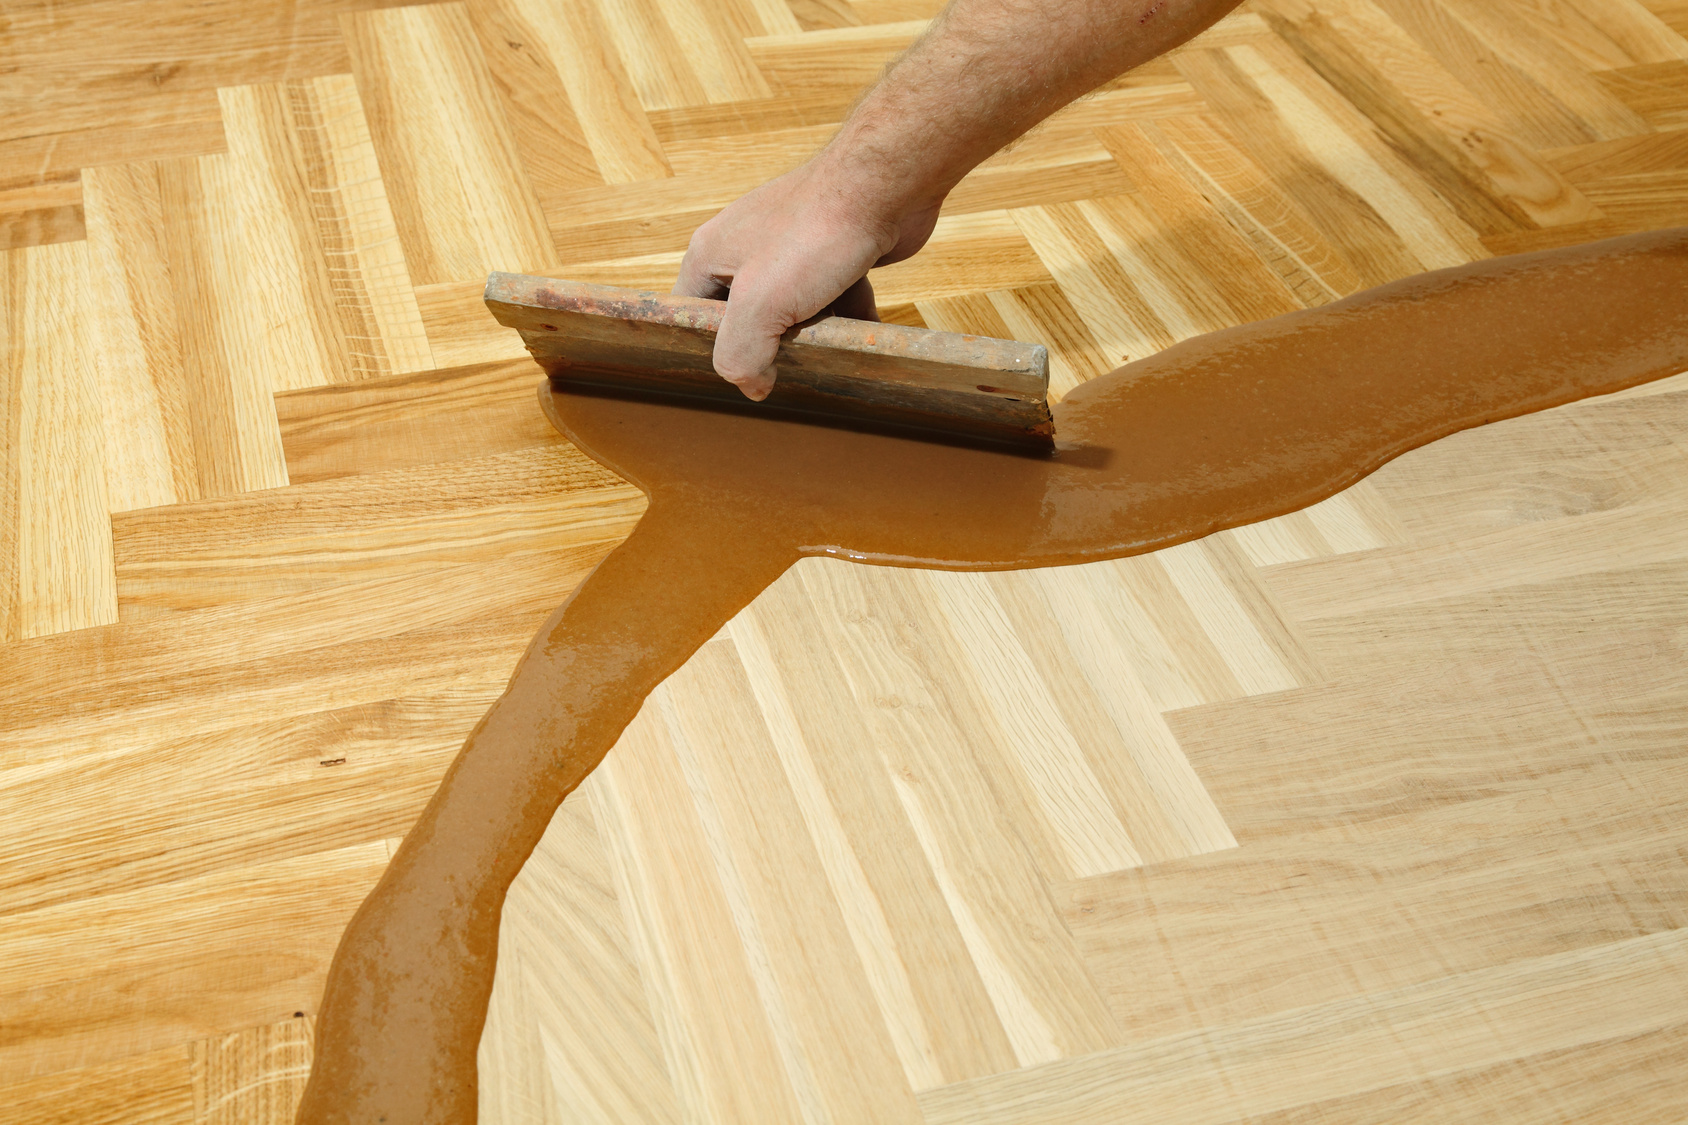
Do you have a piece that could use a makeover or prefer an upgrade over disposal? Easily refresh your furniture with our guide on varnishing to achieve optimal results.
Ventilation Matters
Ensure proper ventilation during varnishing to prevent dust settling on wet surfaces. Open windows, vacuum the area, and protect floors from varnish, which is challenging to remove from laminate or carpet. Additionally, keep windows open for fume dispersion.
Understanding Varnish Types
Choose from water-based, oil-based, or acrylic varnishes. While oil-based options are durable but slow to dry, water-based alternatives are less harmful with easier cleanup but offer less durability.
Stripping the Old Finish
If working with previously finished wood, consider removing the old finish using methods like paint stripper or paint thinner. Sand the piece afterward with a fine grit (180-220) to ensure proper adhesion.
Wood Preparation
Sand the piece to eliminate residual gloss or paint, using a fine grit (180-220). Clean the wood thoroughly to remove dust or residue before applying varnish.
Varnish Preparation
Prepare the varnish differently for the first coat based on its type. For oil-based varnish, mix one part varnish with one part paint thinner; for water-based varnish, mix one part varnish with one part water.
Application Process
Apply varnish using a flat paintbrush or foam applicator, using long strokes following the wood grain. Allow 24 hours of drying time before sanding with a 280-grit pad, wiping down, and applying subsequent coats.
Repeat Process
Apply two to three additional coats, allowing drying time between each. Ensure satisfaction with the shade and applications before letting the varnish cure for at least 24-48 hours, or follow the specific curing time mentioned on the varnish tin.
When to varnish and when not to
Not every piece of wood furniture benefits from varnishing. Understanding the difference between pieces that will look better with a fresh coat and those that will be ruined by it is essential.
Good candidates for varnishing
- Solid wood furniture in good structural condition but with worn or damaged finishes.
- Hardwood floors that have become dull or scratched.
- Wooden doors, trim, and architectural features that have yellowed or cracked with age.
- Outdoor furniture, fences, and decks that need weather protection.
- Wooden kitchen items (cutting boards, utensils, bowls) — though these typically need food-safe oils rather than varnish.
Poor candidates
- Veneered furniture, where the thin wood layer is too delicate to sand and refinish repeatedly.
- Antique pieces where the existing patina is part of the value. Stripping an antique finish destroys its character and reduces its resale value.
- MDF or particle board furniture, which doesn't take varnish well and swells when exposed to moisture.
- Pieces with significant structural damage — repair the structure first, then worry about the finish.
Choosing the right varnish
The varnish aisle at any hardware store can be intimidating. Dozens of products, all claiming to be the best. Understanding the categories helps narrow the choice.
Oil-based varnish
Oil-based varnishes — typically made from alkyd resins — have been the standard for decades. They produce a hard, durable finish with a warm amber tone that enhances wood grain. They are forgiving to apply and flow out beautifully.
The downsides: they are slow to dry (16–24 hours between coats), have strong fumes that require good ventilation, and clean up requires solvents like mineral spirits or turpentine. Yellowing over time can also be an issue on light woods.
Water-based varnish
Water-based varnishes have improved dramatically over the past two decades. They dry quickly (2–4 hours between coats), have minimal odour, and clean up with water. They preserve the natural colour of light woods without yellowing.
The trade-offs are that they are less forgiving to apply — brush marks are harder to avoid — and they don't have the same depth of finish as oil-based products. For beginners, the learning curve is steeper.
Polyurethane varnish
Polyurethane is technically a type of varnish but is often sold separately. It produces an exceptionally hard, durable finish that resists scratches, water, and chemicals better than standard varnish. Available in both oil-based and water-based formulas.
Polyurethane is the right choice for high-traffic surfaces like floors, kitchen tables, and bar tops. For decorative pieces, it can be overkill.
Specialty varnishes
- Spar varnish — formulated for marine use, with extra flexibility to handle wood movement. Good for outdoor furniture.
- Conversion varnish — a professional-grade product requiring spray application. Extremely durable but not DIY-friendly.
- Shellac — not technically a varnish but often grouped with them. Natural, food-safe, easy to repair, but not water-resistant.
- Tung oil and Danish oil — penetrating finishes rather than surface coatings. They don't form a film but soak into the wood. Less protection but a more natural look.
Preparation is everything
The difference between a professional-looking finish and an amateur-looking one is almost entirely in the preparation.
Stripping
If the existing finish is in poor condition — peeling, cracking, or flaking — strip it completely before varnishing. Chemical strippers are the most common DIY method; apply a thick coat, wait the recommended time, and scrape off the softened finish with a plastic scraper.
For thick or multiple layers of finish, multiple applications of stripper may be necessary. Work in sections rather than trying to strip the entire piece at once.
After stripping, neutralise the surface according to the stripper manufacturer's instructions. Some require washing with water, others with mineral spirits.
Sanding
Sanding serves two purposes: smoothing the surface and providing "tooth" for the new finish to adhere to. Skipping this step is the most common cause of varnish failure.
Progression matters. Start with coarser grits (80–120) to remove the bulk of imperfections, then move through finer grits (150, 180, 220) to refine the surface. For most projects, finishing at 220 grit provides the right balance — smooth enough for a refined finish, but rough enough for adhesion.
Between grits, wipe the surface with a tack cloth or slightly damp rag to remove dust. Dust left on the surface will be embedded in the finish.
For curved surfaces or fine details, sanding by hand with folded sandpaper is often more effective than power sanding, which can remove too much material too quickly.
Final preparation
Just before applying the first coat of varnish, wipe the entire piece with a tack cloth to remove any remaining dust. Some professionals recommend a final wipe with mineral spirits (for oil-based finishes) or a damp cloth (for water-based) to catch any residual dust.
The piece should be completely dry before varnishing. Any moisture trapped under the finish will cause cloudiness, poor adhesion, or both.
Application technique
The application itself is the part everyone focuses on, but the technique matters less than the preparation.
Choosing the applicator
- Natural bristle brush — best for oil-based varnishes. The bristles hold the finish well and release it smoothly.
- Synthetic bristle brush — necessary for water-based varnishes, which cause natural bristles to swell.
- Foam brush — cheap, disposable, and good for small projects. Less control than a bristle brush.
- Rag application — used for penetrating finishes like tung oil. Not suitable for film-building varnishes.
A high-quality brush makes a noticeable difference. Cheap brushes shed bristles and leave brush marks. For larger projects, invest in a 2-inch or 2.5-inch angled sash brush.
The technique
Dip the brush about one-third of the way into the varnish. Tap (don't wipe) the brush against the side of the container to remove excess. Apply in long, smooth strokes, following the wood grain.
Don't overwork the varnish once it's on the surface. Each pass should overlap the previous one slightly, but going back over partially dried varnish creates visible marks.
The "tip off" pass — a final light pass with just the tip of the brush, in one direction — helps level the surface and remove brush marks. Do this once per section, and then leave it alone.
Conditions matter
Temperature and humidity affect how varnish dries and cures. Most products specify a range — typically 10–30°C and 30–80% relative humidity. Outside these ranges, drying may be too fast (causing brush marks and poor flow) or too slow (causing dust contamination and sagging).
Work in good light so you can see what's happening. A piece that looks fine in dim lighting can show obvious defects in natural daylight.
Curing vs. drying
There's an important distinction between drying and curing that many DIYers miss.
Drying
Drying is the evaporation of solvents. The surface feels dry to the touch when this is complete. This usually takes a few hours for water-based finishes and 16–24 hours for oil-based finishes.
A surface that is dry to the touch is not yet ready for the next coat.
Curing
Curing is the chemical process by which the varnish reaches its full hardness and durability. This takes much longer than drying — typically 7–30 days depending on the product.
During the curing period, the finish is vulnerable to damage. Placing objects on a freshly varnished surface, even one that feels dry, can leave permanent marks. Plan projects so the finished piece can sit undisturbed for at least a week.
Some manufacturers specify when the finish is "lightly usable" versus "fully cured." For tabletops and high-traffic surfaces, waiting for full cure is worth the patience.
Troubleshooting common problems
Brush marks
The most common issue. Caused by working the finish too much, using the wrong brush, or applying in conditions that cause too-fast drying.
Fix: Sand out the brush marks with 280-grit sandpaper once the coat is fully dry, and apply the next coat more carefully.
Dust nibs
Small particles embedded in the finish. Caused by poor dust control during application.
Fix: Sand out with fine sandpaper once dry, and improve dust control for subsequent coats (close windows, vacuum the area, allow dust to settle before varnishing).
Sagging or runs
The finish is too thick or applied unevenly, especially on vertical surfaces.
Fix: Sand out the sag once dry. Apply thinner coats on vertical surfaces, working from bottom to top.
Cloudiness
Moisture trapped in the finish, or application over incompatible products.
Fix: Sand out the cloudy area, identify and address the moisture source, and reapply.
Peeling or flaking
Usually a preparation problem — the surface wasn't properly cleaned or sanded before varnishing.
Fix: Strip back to bare wood and start over with proper preparation.
The reward of patience
Varnishing well is a slow process. From preparation through final cure, a typical piece takes a week or more to complete. The temptation to rush is strong, but each shortcut shows in the final result.
The payoff, however, is significant. A properly varnished piece can look better than new, with a finish that protects the wood for decades. Few DIY projects offer that combination of immediate visual impact and long-term durability.
For those willing to invest the time, varnishing is one of the most rewarding skills in the home improver's toolkit.